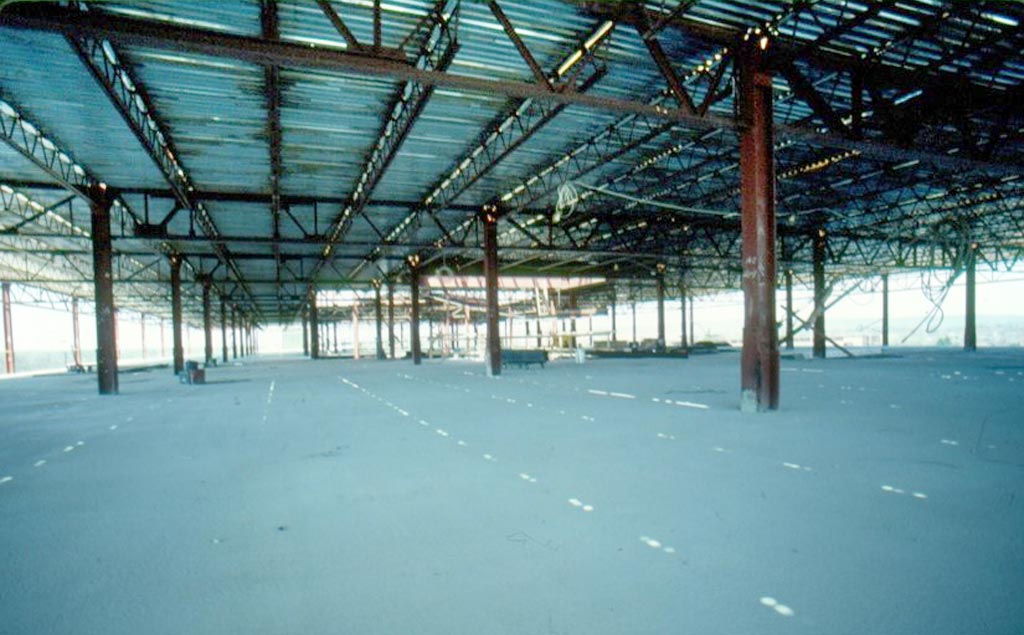
SIMPLICITY
Using fewer components and less manpower, the Vescom
erection process is a study in speed and simplicity. No scaffolding, bridging or temporary supporting members are required. All work is done from above as the erection crew lays its own working platform.
Joist bundles are placed and spread simply and quickly.
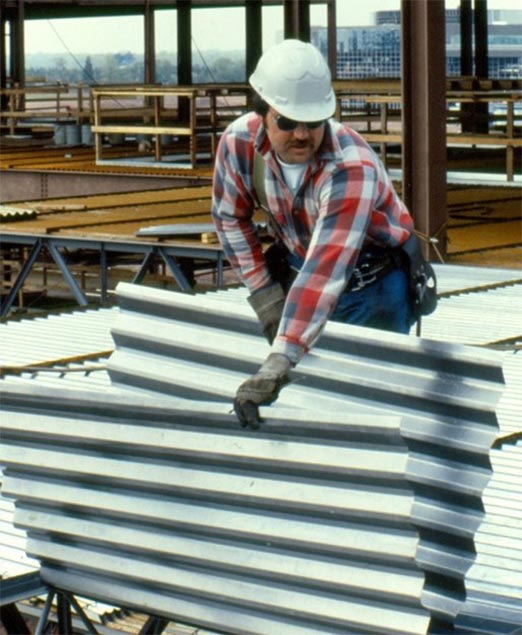
Decking, which is cut to size, is light and can be installed by a single workman with handling multiple sheets at a time. The decking is rapidly positioned resulting in a finished working platform of exceptional strength and stability.
Concrete stop at the slab edges and at opening in the slab prepares the floors for pouring with little preparation required by the concrete subcontractor.
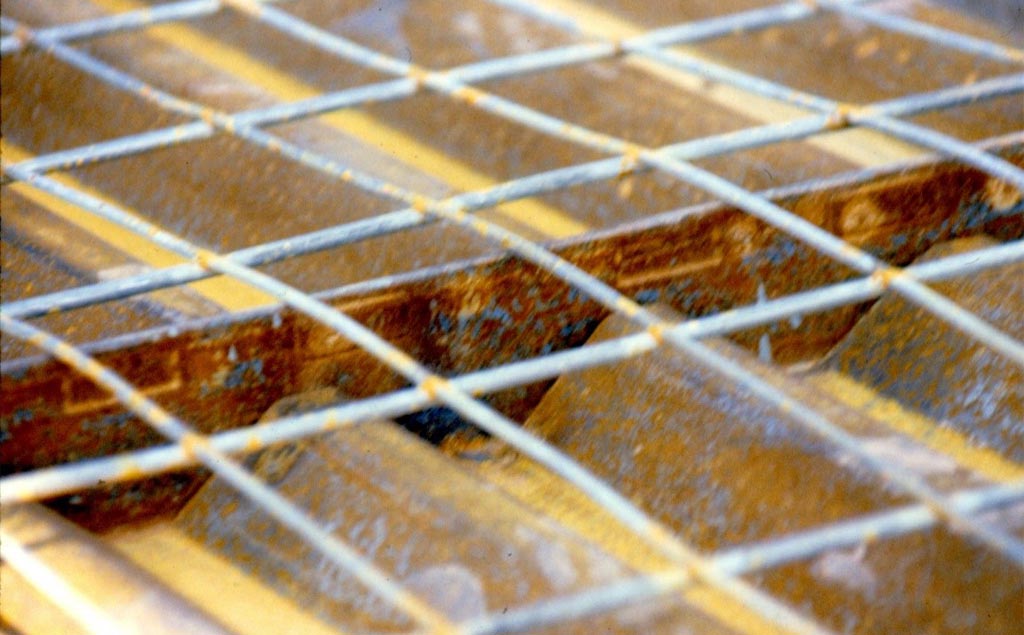
Mesh is placed directly on the joists without the necessity of highchairs. For residential projects, the mesh is mostly 6 X 6 W2.0/W2.0 which is light and easy be to install. The draped mesh forms a strong one-way slab between the joists.
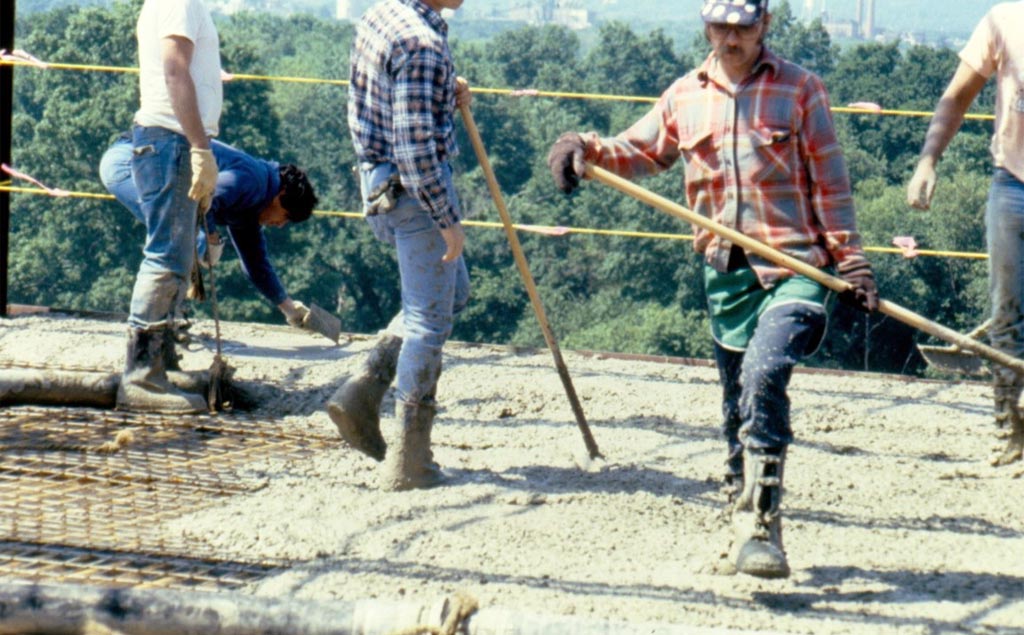
When it comes to pouring the concrete, Vescom brings you again a variety of advantages compared to competing system. A slab with only 3 ½” to 4″ of thickness. can poured with a laser to ensure an almost perfect uniformity of the slab. Moreover, the Vescom floor System can be installed going up to four levels without having to pour the concrete. A significant advantage for projects built in cold weather with a very tight schedule.
1 – After bays are framed with steel or walls, the bundles are placed.
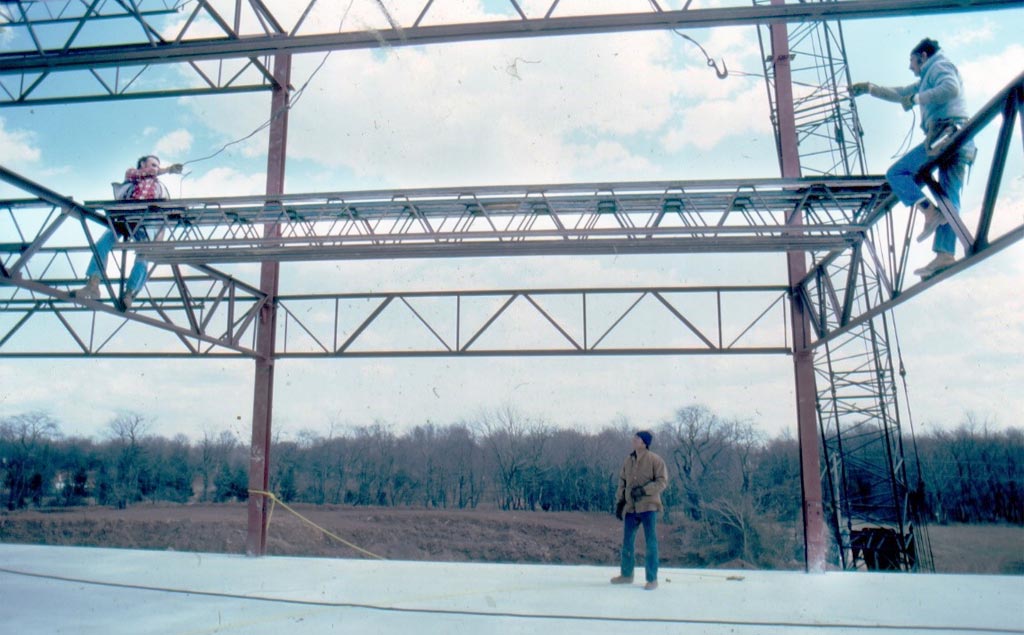
2 – Joists are spread to the required spacing. No need for time-consuming and dangerous bridging. Flush seats stabilize joist for welding to support steel.
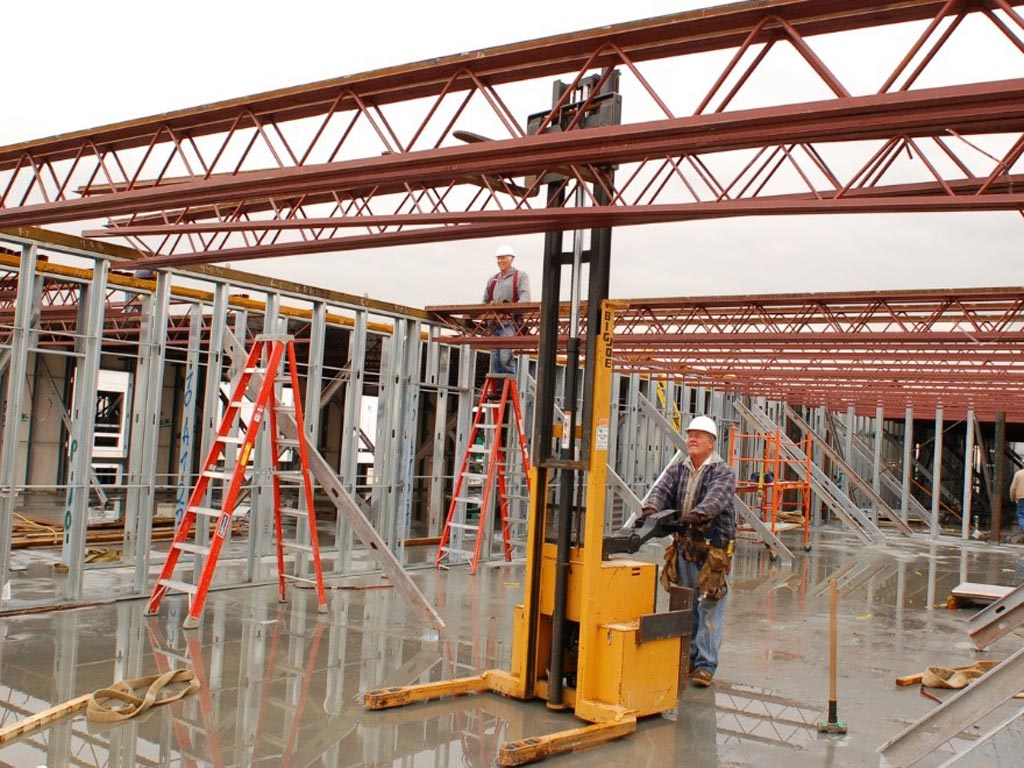

3 – Pre-cut decking is placed and either welded or shot. Multiple decking pieces are placed by one man. A rugged working platform is now ready for immediate use.
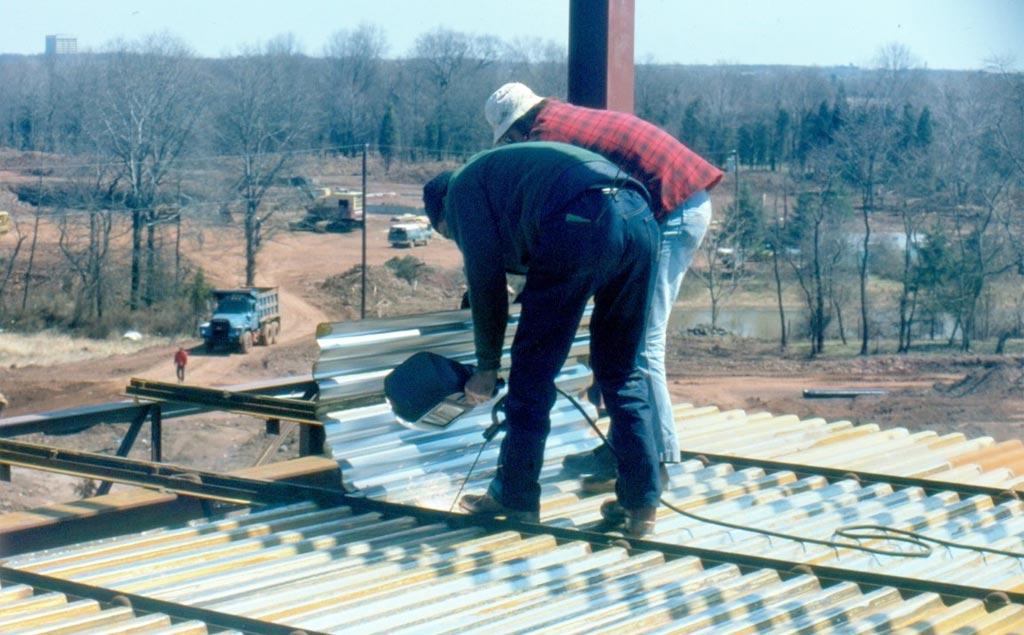
4 – Mesh is rolled into place. The unique top chord design eliminates the need for high chairs.

5 – Placing concrete is the final step.
6 – the finished floor, with no forms to strip, is now ready for other trades.
